Nodemailer
Nodemailer is a module for Node.js applications to allow easy as cake email sending. The project got started back in 2010 when there was no sane option to send email messages, today it is the solution most Node.js users turn to by default.
npm install nodemailer
Check out EmailEngine – a self-hosted email gateway that allows making REST requests against IMAP and SMTP servers. EmailEngine also sends webhooks whenever something changes on the registered accounts.
Using the email accounts registered with EmailEngine, you can receive and send emails. EmailEngine supports OAuth2, delayed sends, opens and clicks tracking, bounce detection, etc. All on top of regular email accounts without an external MTA service.
Nodemailer features
- A single module with zero dependencies – code is easily auditable, as there are no dark corners
- Focus on security, no-one likes RCE vulnerabilities
- Unicode support to use any characters, including emoji 💪
- Windows support – you can install it with npm on Windows just like any other module, there are no compiled dependencies. Use it hassle free from Azure or from your Windows box
- Use HTML content, as well as plain text alternative
- Add Attachments to messages
- Embedded image attachments for HTML content – your design does not get blocked
- Secure email delivery using TLS/STARTTLS
- Different transport methods in addition to the built-in SMTP support
- Sign messages with DKIM
- Custom Plugin support for manipulating messages
- Sane OAuth2 authentication
- Proxies for SMTP connections
- ES6 code – no more unintentional memory leaks, due to hoisted var’s
- Autogenerated email test accounts from Ethereal.email
Requirements
- Node.js v6.0.0 or newer. That’s it.
If you are able to run Node.js version 6 or newer, then you can use Nodemailer. There are no platform or resource specific requirements. All public Nodemailer methods support both callbacks and Promises (if callback is omitted). You need to have at least Node v8.0.0 if you want to use async..await with Nodemailer.
TL;DR
In short, what you need to do to send messages, would be the following:
- Create a Nodemailer transporter using either SMTP or some other transport mechanism
- Set up message options (who sends what to whom)
- Deliver the message object using the sendMail() method of your previously created transporter
Example
This is a complete example to send an email with plain text and HTML body using Ethereal Email.
const nodemailer = require("nodemailer");

const transporter = nodemailer.createTransport({
  host: "smtp.ethereal.email",
  port: 587,
  secure: false, // Use `true` for port 465, `false` for all other ports
  auth: {
    user: "maddison53@ethereal.email",
    pass: "jn7jnAPss4f63QBp6D",
  },
});

// async..await is not allowed in global scope, must use a wrapper
async function main() {
  // send mail with defined transport object
  const info = await transporter.sendMail({
    from: '"Maddison Foo Koch 👻" <maddison53@ethereal.email>', // sender address
    to: "bar@example.com, baz@example.com", // list of receivers
    subject: "Hello ✔", // Subject line
    text: "Hello world?", // plain text body
    html: "<b>Hello world?</b>", // html body
  });

  console.log("Message sent: %s", info.messageId);
  // Message sent: <d786aa62-4e0a-070a-47ed-0b0666549519@ethereal.email>
}

main().catch(console.error);
Examples
- Nodemailer AMQP example is an example of using RabbitMQ to manage Nodemailer email messages. Source.
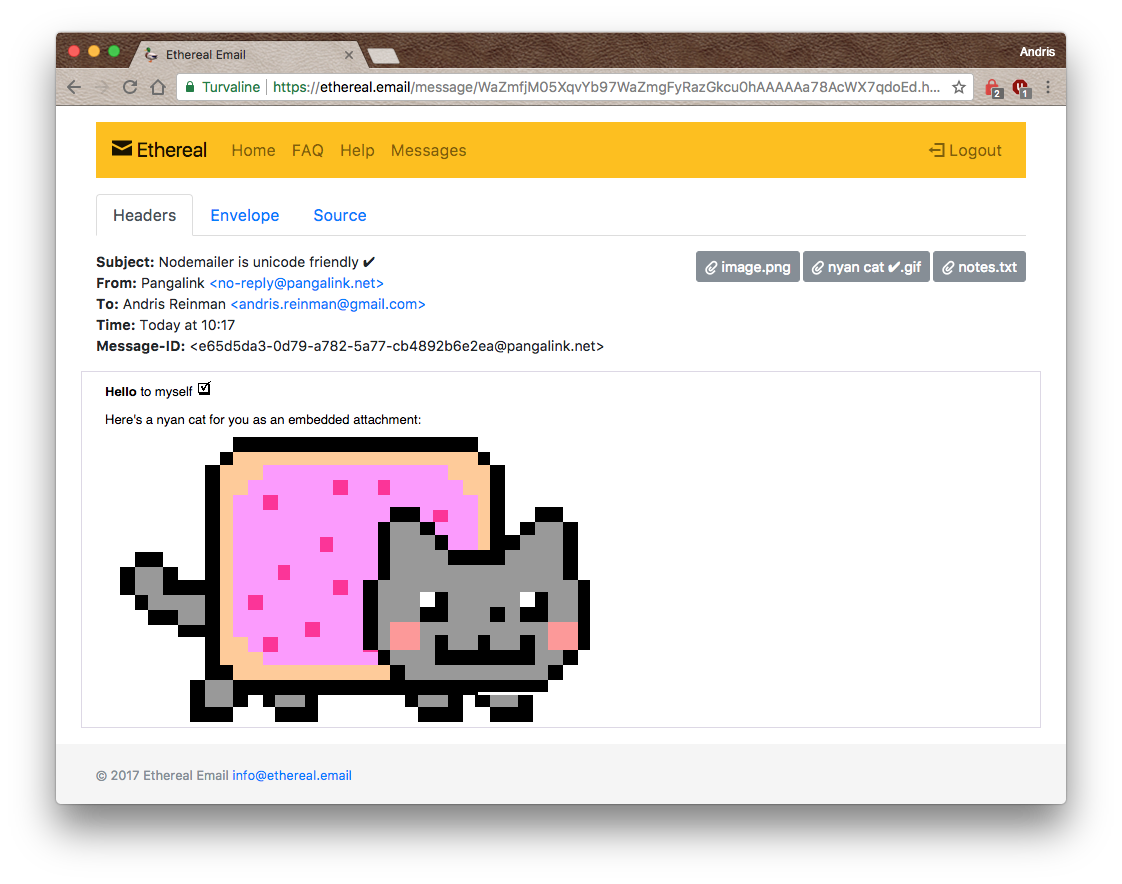
Output of the the example script as shown by the Ethereal mail catching service:
Source
Nodemailer source can be found from Github.
Nodemailer is created by Andris Reinman. The Nodemailer logo was designed by Sven Kristjansen.